

The Ultimate Beginner's Guide To Collecting Records
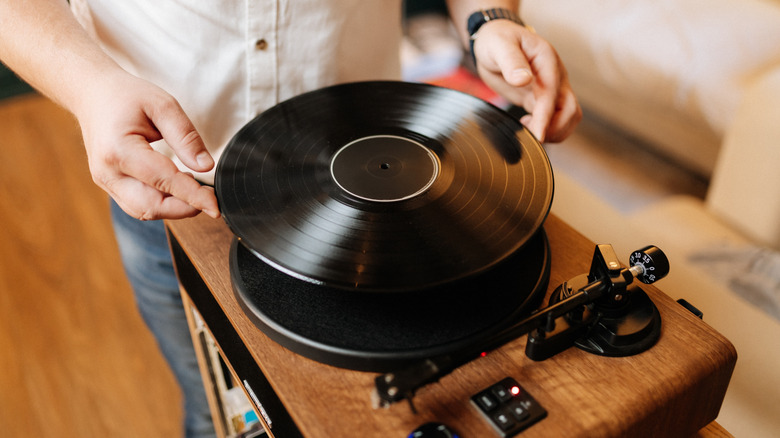
We may receive a commission on purchases made from links.
So you want to put your phone down and exist in the moment with some vinyl, eh? Good. And? Things can get a bit complicated from there, but if you stay focused on that main goal, you should be good to go. Don't get too caught in the weeds of models, makes, types, etc., of turntables, speakers, special album editions, what have you, and follow the process one step at a time. We're here to help.
If we were living 50 to 60 years ago, we probably wouldn't need to write this article. Folks would have set up their living rooms with a music shrine in mind, from the music lover's hi-fi stereo systems of the '60s to the direct-drive turntables of the '70s; possibly some readers lived through that time. "Collecting records" at that point was a mere matter of going to the store, buying some albums, going home, finding a spot for them on your shelf, sliding the record in place, slipping it out of its sleeve, placing it on your turntable, and so forth. Maybe you had different shelves for different types of music. Maybe you had some kind of overflow storage area for albums you listen to less regularly or on specific occasions.
That whole setup, top to bottom, is your goal. From choosing the best record player for you to proper vertical storage, proper maintenance, and amassing an enviable collection of albums — maybe even compilations that every classic rock fan should own — let's take it step by step and see that collection grow.
Step 1: Demarcate space
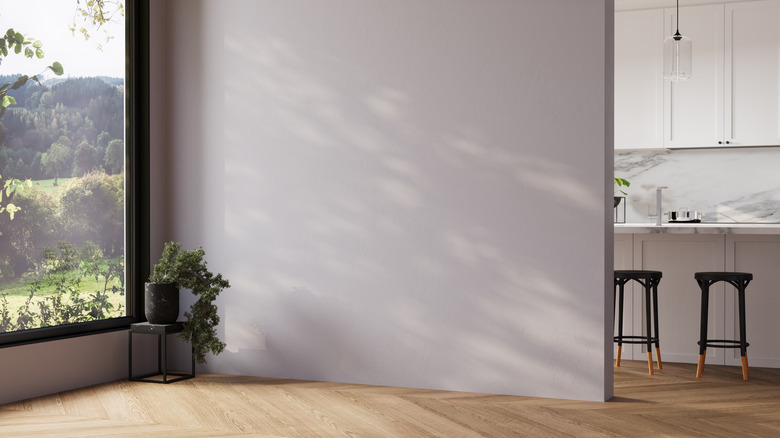
Where to put it, where to put it? Unless you're buying one of those pint-sized, all-in-one Victrola player/speaker combos, you're going to need space for your record player setup and vinyl collection. We're talking about nuts-and-bolts furniture arrangement that takes record player, speaker locations, and vinyl storage into account. Think long-term and overestimate the size you think you'll need, as your record collection will likely grow. Some area in your living room equivalent to the space needed for a dresser or TV will suffice. Pretend you're a kid expecting a toy dump from Santa and it'll be fun.
Step 2: Get a proper stand
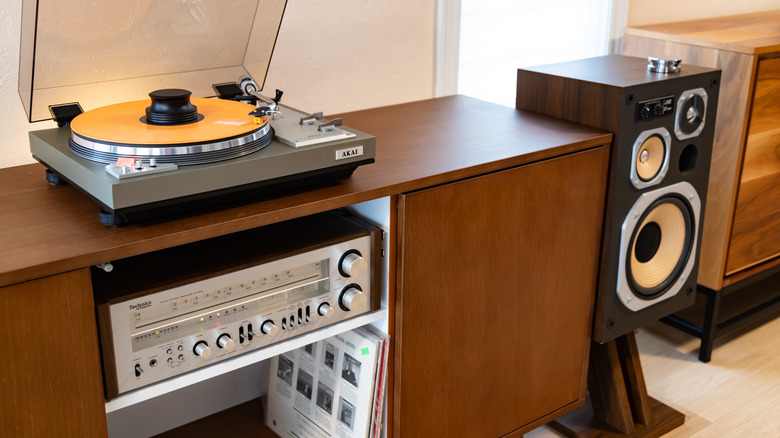
Your record stand is the heart of your collection and the foundation of your shrine. Choosing a good stand might seem like a dumb, duh step, but think about all the ways it could fail. Kids and dogs can knock over unstable stands. Narrow stands might cause problems with speaker placement. A vintage hunk of polished wood from a secondhand shop is a cool, sturdy idea, as is something with doors to keep dust off your records. Get creative, but stay practical, and envision a growing collection that needs multiple slots and shelves for organizational purposes.
Step 3: Think about shelving
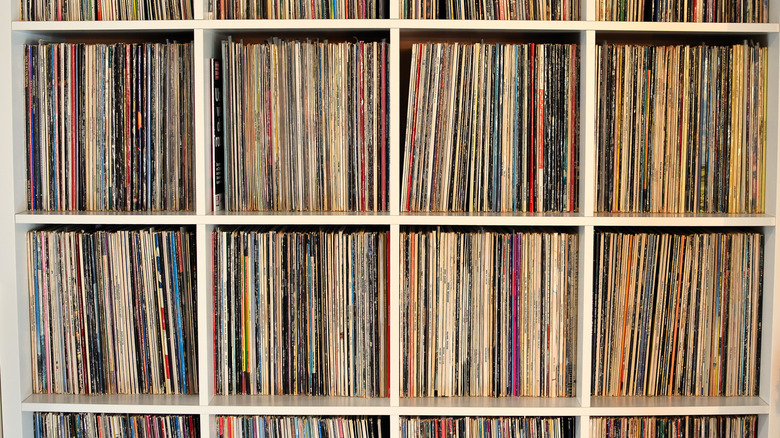
Like liquor cabinets and arms begging for more tattoos, record collections tend to fill up over time. Vinyl storage is going to be your biggest eventual annoyance, assuming you don't just stick with a small, boutique record collection spinning on repeat. Lots of folks have a separate, larger area for holding most of their records and maybe a smaller, elite collection right next to the player. But no matter what, keep your records vertical and replace your inner/outer sleeves regularly. Also keep them away from dust, light, humidity, and heat to make them last as long as possible.
Step 4: Get a record player
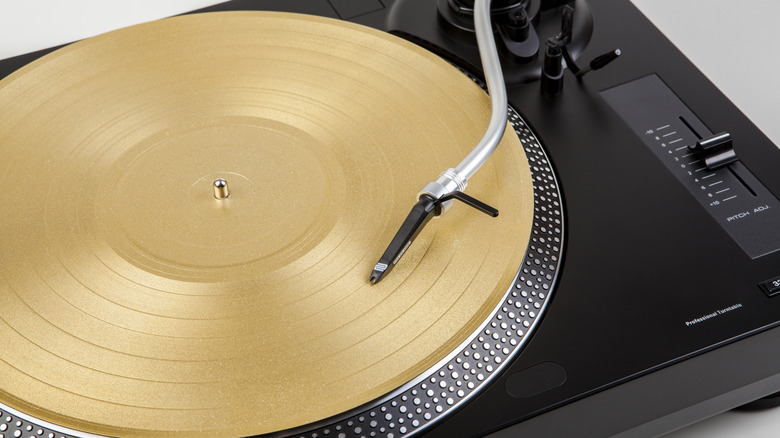
Now comes the big decision (which might come before choosing a stand): What kind of record player should you buy? There are four basic types of record player setups ranging from least complex to most complex, which also means least expensive to most expensive. All-in-one players are a simple and cost-effective choice with built-in speakers, while standalone turntables need external speakers that are either active (no additional amp needed) or passive (amp needed). Then, there's Bluetooth functionality to consider, which can allow wireless speakers to connect to turntables and other devices. It all depends on your audiophilic needs.
Step 5: Get some speakers (and maybe an amp)
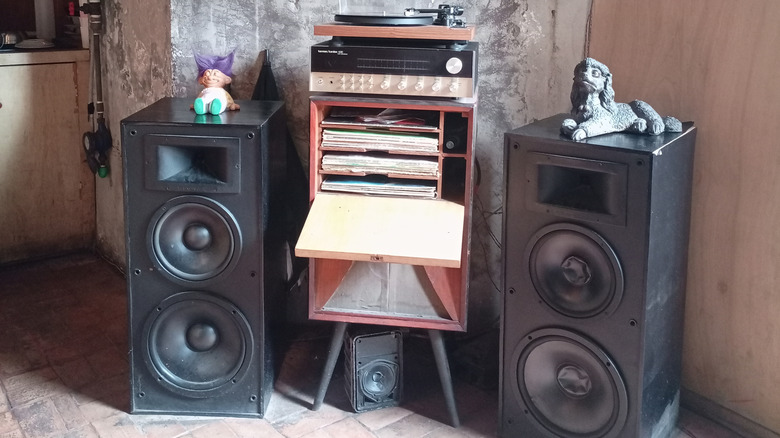
Record players and speakers are one purchasing decision, plus an amp if you want the most retro setup possible (and most space needed), with the turntable connected to the amp. But no matter what, speakers are necessary. If you have a Bluetooth-enabled turntable, you can go wireless with a simple, single speaker from a brand like Anker (with the possibility of connectivity problems), all the way to a multi-speaker, multi-thousand-dollar, home-wide, synchronized Sonos setup. Placement of speakers is critical, as is space for them. Keep all this in mind when demarcating space and setting up a stand and shelving.
Step 6: Get maintenance/cleaning supplies
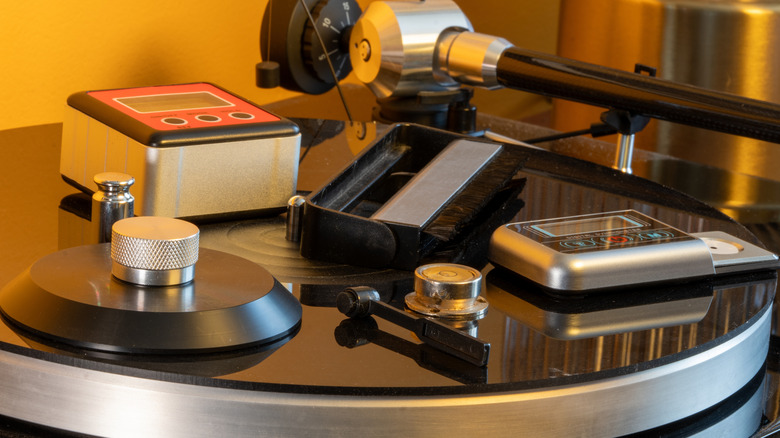
Oh joy of joys, cleaning and maintenance. A brush for the vinyls, a brush for the stylus (needle), cleaner for the vinyls, optional extra sleeves for the vinyls (inner/outer; paper or plastic is fine), even entire record washing machines: It's easy to go overboard this stuff. But since you should do it, maintenance kits make the job easier. We recommend you get cleaning stuff before vinyls because it's easy to let maintenance fall by the wayside. Wear and tear will eat away at your hard work from day one. Also, you'll need a small storage bin for your cleaning supplies.
Step 7: Determine your essential albums
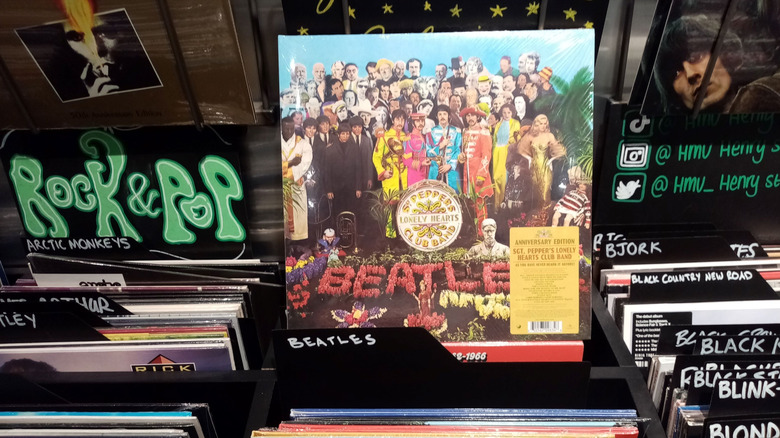
Time for the fun part: choosing your essential albums, your must-buys, your can't-do-withouts, the bedrock of your collection. We recommend doing this because it's sad to see one lone vinyl leaning against a shelf wall. Choose 10, maybe five (depending on your budget) albums that you consider absolutely necessary. No doubt nostalgia will play a big role here, but you should also consider what kind of music is best suited to putting on in the house, taking your speaker setup into account. Maybe swooshing ambient is good for surround sound. Maybe you want a high-value classic from the '50s, like Elvis' debut of short tunes on repeat — who knows? It's your collection.
Step 8: Shop
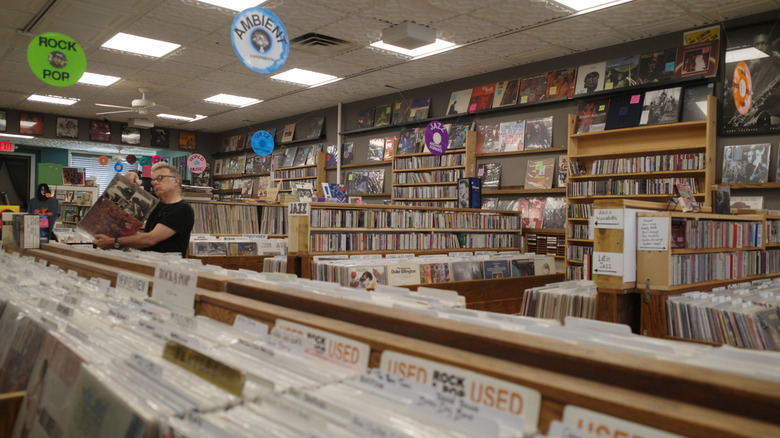
Now that you know what you want to buy, you've got to find it. If you have the time to support brick-and-mortar stores, then by all means you should experience the old-school joy of rifling through records. It's a great part of the experience. Find a place near you. Otherwise, EBay is an obvious choice for used albums, but Discogs is the real emperor of online vinyl shopping, in no small part thanks to built-in organizational functions. Bandcamp is the best choice for supporting smaller artists, but if you want a super common, massive album like Oasis' "Definitely Maybe," you can get it basically anywhere.
Step 9: Transport
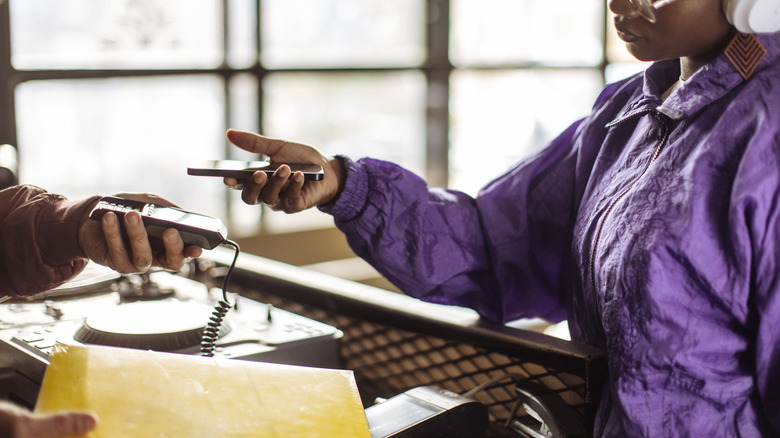
Even buying your records requires care. Once you've bought an album, you've got one goal in mind: preservation. If you bought your record online (especially peer-to-peer), keep your fingers crossed that your vinyl arrives well-packed and not warped, cracked, or shattered. If you bought your vinyl in person, pretend it's a precious gem. Don't treat it carelessly, don't chuck it in the backseat of your car, don't expose it to sunlight and dust, don't store it in hot temperatures that will warp it, don't leave it out of its sleeve, etc. Keep it in mint condition all the way to its designated shelf spot.
Step 10: Listen
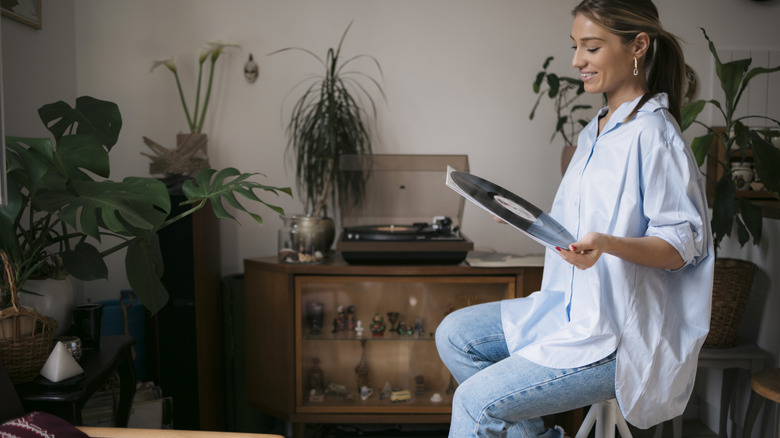
Congratulations! Now you can listen to your vinyl. This is the final, funsies step that you've been building towards, which was the original reason you set out on your vinyl collection journey. Soak up that warm sound and enjoy the tactile, immersive experience of vinyl and endlessly tinkering with your setup and vinyl storage arrangement — as many like to do. And don't forget to read the liner notes.